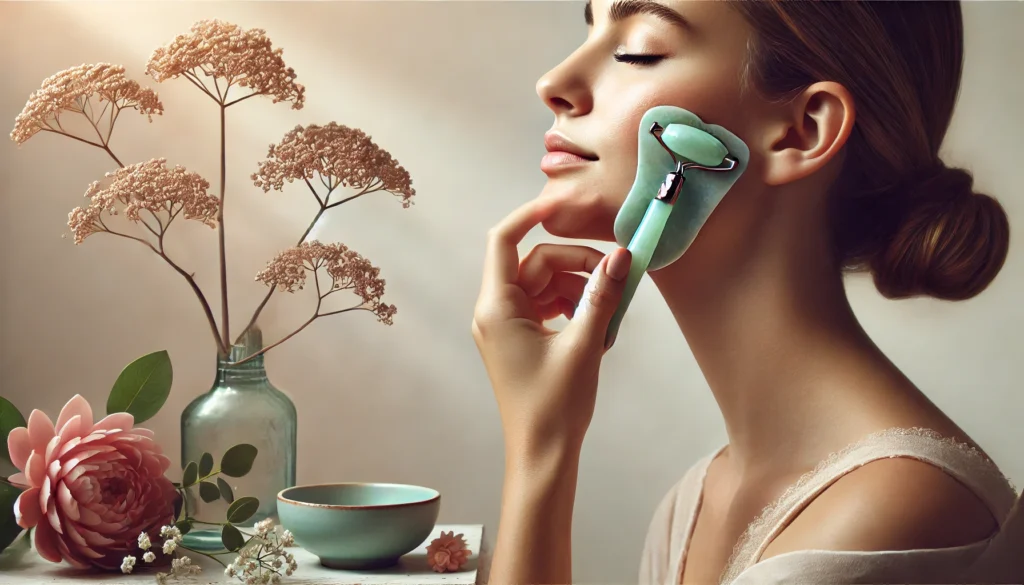
In the quest for radiant, healthy skin, ancient beauty rituals are making a modern comeback—and Gua Sha techniques stand at the forefront. Rooted in Traditional Chinese Medicine (TCM), Gua Sha (pronounced gwah-shah) uses smooth, flat stones to massage the face and body, promoting circulation, reducing puffiness, and unlocking a lit-from-within glow. Whether you’re new to this practice or looking to refine your routine, this guide will walk you through everything you need to know: tools, techniques, common mistakes, and how to pair Gua Sha with other treatments like LED therapy for next-level results.
What Is Gua Sha?
Gua Sha translates to “scraping sand” in Mandarin, referring to the gentle scraping motion used to release stagnation in the body. While traditionally applied to the back and limbs for pain relief, facial Gua Sha has gained global popularity for its ability to:
Boost circulation for a rosy, vibrant complexion.
Drain lymphatic fluid to reduce puffiness (especially under the eyes).
Relieve tension in facial muscles (hello, jawline definition!).
Enhance product absorption by prepping the skin.
For best results, pair your Gua Sha practice with a high-quality serum or facial oil.
Choosing the Right Gua Sha Tool
Not all Gua Sha stones are created equal. Here’s how to pick the perfect one:
Material Matters
Jade: Cooling and calming, ideal for sensitive or inflamed skin.
Rose Quartz: Gently warming, promotes self-love and emotional balance.
Bian Stone: Contains 40+ trace minerals for grounding energy.
Shape & Edges
Heart-shaped: Fits cheeks and jawline.
Crescent edge: Targets under-eye area and brow bone.
Flat side: Glides smoothly across larger areas like the forehead.
Pro Tip: Store your tool in the fridge for an extra de-puffing boost!
Step-by-Step Gua Sha Routine for Glowing Skin
Follow this 10-minute routine daily or 3–4 times weekly for best results.
Step 1: Prep Your Skin
Cleanse thoroughly to remove makeup and impurities.
Apply 4–5 drops of facial oil (like squalane or jojoba) to reduce friction.
Step 2: Neck & Décolletage
Lymphatic Drainage: Glide the flat edge upward from collarbone to jawline, 5x per side.
Vertical Strokes: Use the curved edge to sweep vertically along the sides of the neck.
Step 3: Jawline & Cheeks
Sculpting the Jaw: Start at the chin and glide outward toward the earlobe, 5x per side.
Cheek Lift: Place the stone under the cheekbone and sweep upward to the temple.
Step 4: Under-Eye Area
Gentle Pressure: Use the crescent edge to lightly stroke from the inner corner of the eye to the hairline. Repeat 3x.
Step 5: Forehead & Brow
Horizontal Glides: Smooth the stone from the center of the forehead outward.
Brow Lift: Glide under the brow bone toward the temples.
Step 6: Finish Strong
Tap fingertips lightly across the face to invigorate the skin.
Follow with moisturizer or a hydrating mask.
Pro Tips to Maximize Results
Pressure: Let the tool’s weight do the work—no pressing needed.
Angle: Hold the stone at a 15–30° angle for optimal gliding.
Direction: Always move upward and outward to lift, never downward.
Consistency: Practice 3–5x weekly for visible results in 4–6 weeks.
Common Gua Sha Mistakes to Avoid
Using a Dry Face: Always apply oil or serum to prevent tugging.
Rushing the Process: Slow, mindful strokes yield better results.
Over-Scraping: Redness is normal, but pain or bruising means you’re pressing too hard.
Ignoring the Neck: The neck shows aging signs first—treat it with care!
Pairing Gua Sha with Other Skincare Treatments
For a holistic glow, combine Gua Sha with:
LED Light Therapy
Post-Gua Sha, use an anti-aging LED device to amplify collagen production and reduce inflammation. The massage primes your skin to absorb light more effectively.
Sheet Masks
Apply a hydrating sheet mask after Gua Sha to lock in moisture and active ingredients.
Facial Rollers
Alternate between Gua Sha and a jade roller for days when you want lighter pressure.
FAQs About Gua Sha Techniques
Q: How often should I clean my Gua Sha tool?
A: Clean it with soap and water after every use to prevent bacterial buildup.
Q: Can Gua Sha help with acne?
A: Yes! It reduces inflammation and improves product penetration, but avoid active breakouts.
Q: Is Gua Sha safe during pregnancy?
A: Consult your doctor first, as certain pressure points may stimulate contractions.
Q: How long until I see results?
A: Immediate de-puffing vs. long-term sculpting: Glow appears instantly, but contouring takes 4+ weeks.
Conclusion: Embrace the Glow
Gua Sha isn’t just a skincare trend—it’s a self-care ritual that connects mind, body, and skin. By mastering these techniques, you’ll not only achieve a sculpted, radiant complexion but also carve out moments of calm in your daily routine. Ready to level up? Pair your Gua Sha practice with cutting-edge LED therapy for a synergy that tackles aging, dullness, and stress head-on.
Share your Gua Sha journey: Tag us in your #GuaShaGlow selfies or drop a comment below with your favorite tip!
